If you don't care about this tutorial, just scroll on down to see the finished product and tell me it's pretty. I spent a whole week on this thing, so I want confirmation that it was worth my time. Not that I don't get giddy every time I look at it, but you know what I'm sayin'.
Perhaps you remember this old dresser...
We actually bought that dresser for half off at Salvation Army, and it was meant to be a stand in until we decided on an entertainment console. Fast forward three years later, and we still haven't decided on new furniture. Well, I got tired of looking at it, so now that I have the 'spare time' to take on new projects it was time to revamp the eyesore.
The problem, was that this isn't even a real wood dresser, as in it's basically a step above Ikea. I knew there had to be a way to paint this god-awful mixture of laminate and particle board, so off to
Pinterest I went. Yep, that means that I'm actually using the pins on my boards and not just pretending anymore! Really all you need to know, is that Primer is your friend, and it will allow you to paint anything your little heart desires. A lot of paint is made with Primer nowadays, but when we are talking about laminate and un-sanded surfaces, the real stuff is the way to go. Save yourself the freakout later when your paint starts bubbling up.

PRIMER ||
PAINT IN IVORY LACE ||
PROTECTIVE FINISH
**I also recommend going with water based products, because if you've ever tried to clean your brushes and pans, oil-based is a biatch to deal with. Along with those supplies, don't forget to pick up a little Paintbrush & Roller Kit. Mainly, you need a paint tray and a decent brush, but having a couple different sizes of foam rollers won't hurt either.**
Step #1
After you've laid down cardboard or tarp, remove the drawers/ hardware, clean all the surfaces, and get to priming.
Oh hey, look...it's dark outside.
Time to pack it up and let it dry over night. Don't get scared, it only took less than an hour.
Step #2
Day two and three are for laying the color with drying time in between, and that's when you really feel like you are making the magic happen. If you are feeling froggy, you can even take a piece of sandpaper to the edges to distress them before putting on your Polycrilic. Just don't get too froggy or you will have to paint over your mistakes. Sidenote: You can also use the sand paper to get rid of any drips or mistakes along the way.

Step #3
Protect all your hard work with the Polycrilic finish. You have to be really careful with the water based version of this {and you may even want to try oil based}, but if you take your time, it turns out beautifully. It adds to the finish without discoloration or the heavy lacquered look.
Step #4
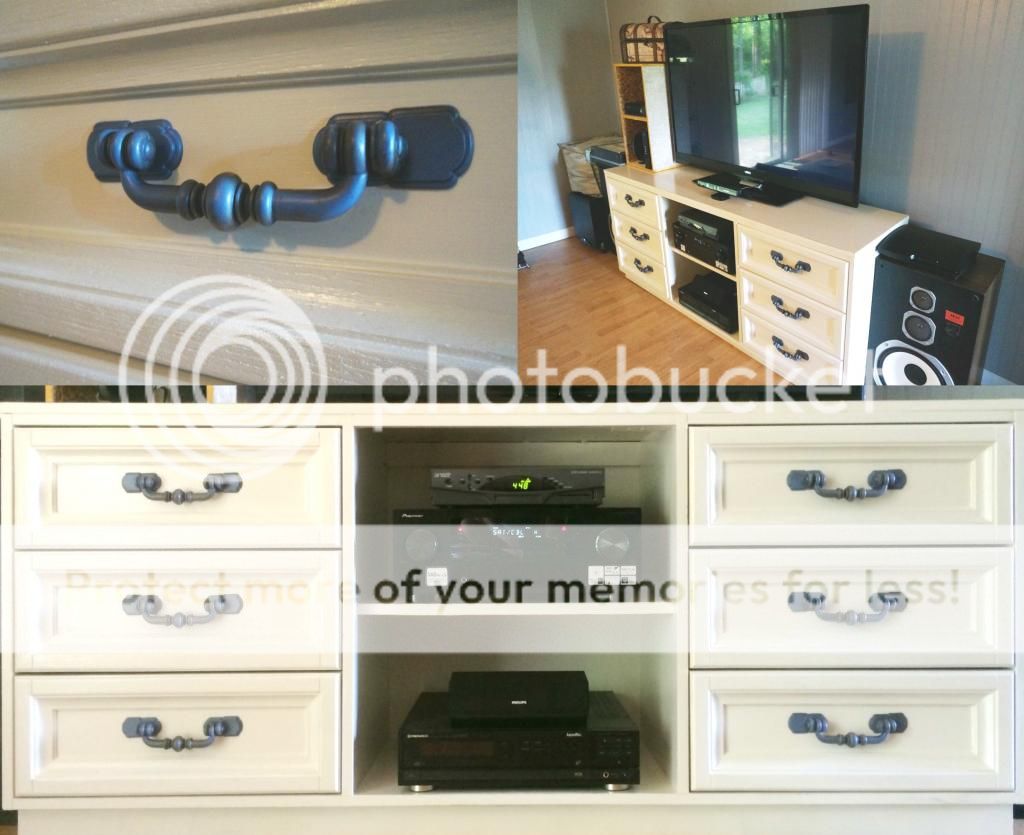
Decide what to do about the hardware, because the drawer pulls are the key to creating a full update. Surprisingly, this was the hardest part. The extra ones I had were the wrong size, I went to Lowe's and their selection was meh, and I searched Etsy but the prices were ridic, so finally, I realized I'd just have to make do with the originals. I decided that a little
Periwinkle Spray Paint would do the trick, especially since I already had another 'piece of
crap art' that I desired to have Periwinkle.
Inspired by this pin.

Gotta love killing two birds with one
stone can of paint. So now we have some wall art, and I get giddy everytime I watch tv with my new entertainment center.
Whoops, I'm getting ahead of myself.
Step #...
I forget, is putting the whole shebang back together.
And BAM...it's like a whole new dresser! Or shall I say Console?...Yeah, that sounds fancier.

I wanna pat myself on the shoulder, and say 'Git down wit yo bad self!'
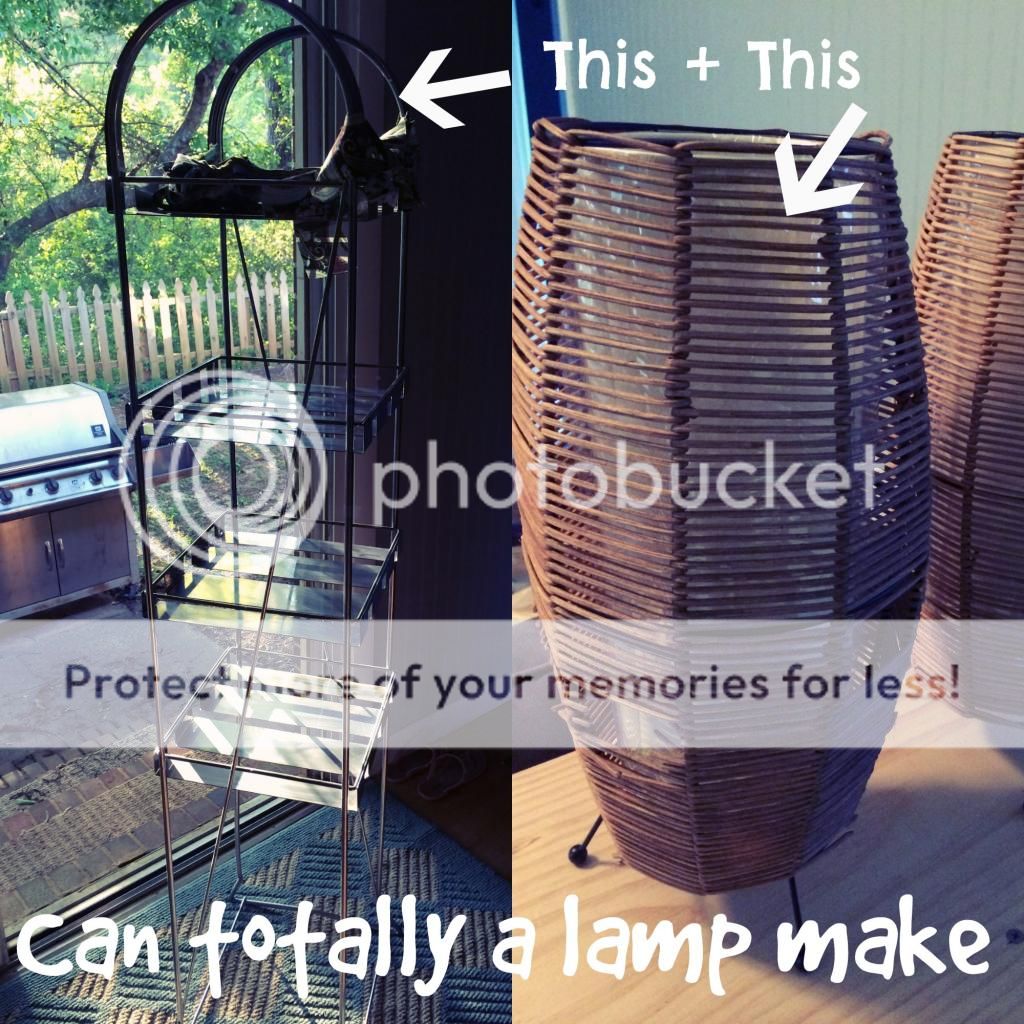
Now, ask me about the Floor lamp I made. I'd love to tell ya about that one too ;).
Last but not least, I'm happy to announce that
Jamie from Handling With Grace won
The Coffee Doge giveaway, so let's give her a hand! This lil momma of two and fellow military spouse deserves a sweet treat, but thanks to everyone that participated!